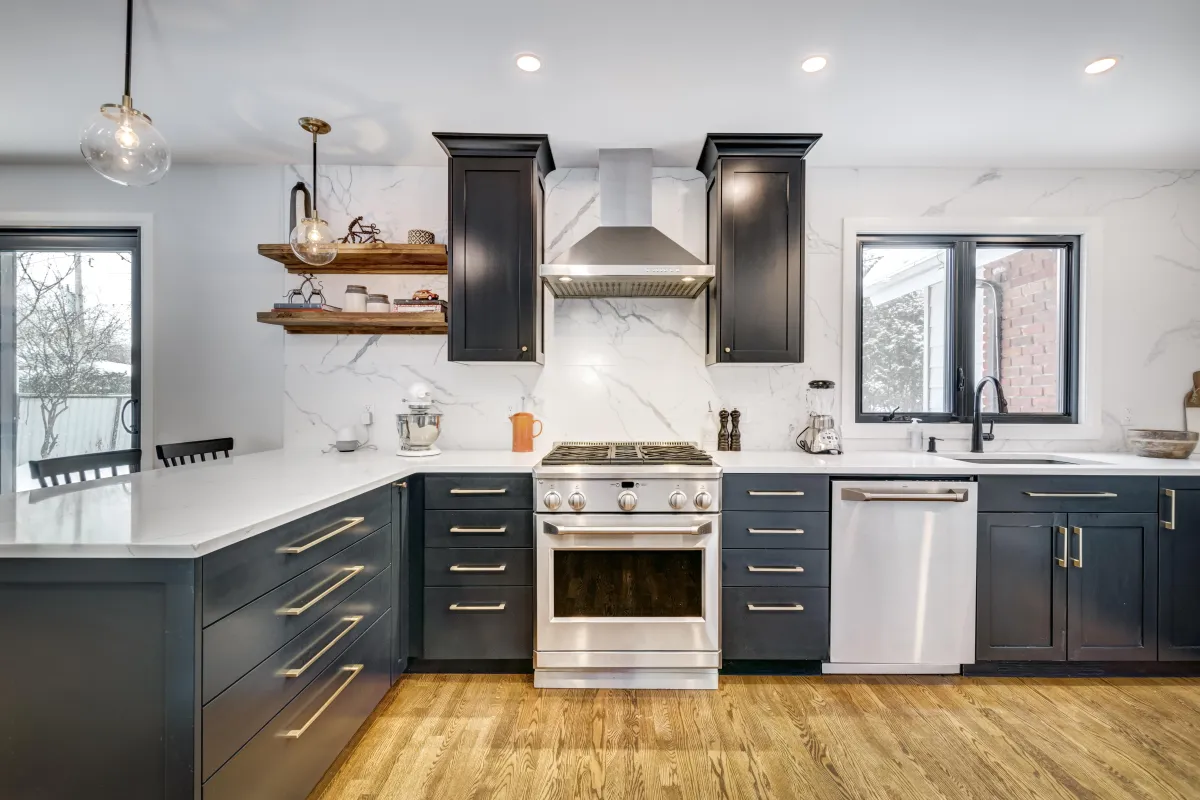
The Ultimate Guide to Painting Your Cabinets
If your kitchen cabinets are looking a little worse for the wear, you really only have two options. Rip them all out and replace them, or refinish / repaint them. If you’re wondering which option is the more cost effective method… it’s definitely painting.
Today, I’m going to walk you through a really simple 3 step process to painting your cabinets. It’s a great way to refresh your kitchen’s look in a single weekend. Nothing to it but to do it, so let’s get through it!

Step 1: Prep
You might be wondering if the material your cabinets are made from are paintable. As a general rule of thumb, any material that is scuffable with sandpaper is also paintable. It’s worth noting that valspar makes a great stain blocking bonding primer and sealer that makes tackling this job a breeze.
If your cabinets have a layer of paint on them already, you’ll want to strip that paint and give yourself a nice clean surface to work with. Citristrip is a safe paint and varnish stripping gel that easily removes layers of paint. Just follow the instructions and you’ll have that paint removed in no time.
You’ll be can prepping, priming, and painting inside of your home, so make sure that you’re ALWAYS working in a well ventilated area. Breathing in dust, sand, or chemicals is never good for your health.
You’ll want to remove your doors and drawers from your cabinets and working on them outside of the house. We recommend sticking a piece of painter’s tape on each door, and matching it with what cabinet you unscrewed it from. This will help you identify which cabinet and door go together once the job is done.
Go ahead and wipe down your cabinets with water and some grease remover, especially if you’re doing kitchen cabinets. This helps give you the cleanest working surface possible. Be sure to protect the rest of your kitchen using drop cloths and masking tape. Next, you’ll want to sand your surfaces using a medium grade sandpaper or electric sander. You can now find sand sponges as well, which are a little easier to hold and work just as well.
Step 2: Prime
Once you’re done sanding and cleaning up the excess dust, it’s time to start priming. Grab your primer and your brush or roller and add a few layers to your cabinets. The trick with priming is to roll the primer in a W motion, going with the grain of the wood. Remember that your prime coat doesn’t need to look perfect, it just needs to cover the wood.
Remember to let your paint completely dry before adding another.
When painting your doors and drawers, consider picking up some painting tripods. These little guys can lift your doors and drawers a few inches above your table. This will help you to get in those little nooks and crannies without getting too much paint on your table. Once one side is dry, flip your surface then repeat on the backside.
If you’re painting drawers, remember to only paint the front and not the sides. Painting the sides can cause your drawers to stick and not roll properly.
Step 3: Paint
Remember to avoid high gloss paints, because they can show imperfections. Also avoid flat finishes, because they can be especially difficult to clean when used in kitchens.
Keep the same method of using an angled brush to paint all of your detailed areas, and use your roller to paint the larger areas. Some people like to use a polyurethane coating to protect the cabinets. This is a great idea for ensuring that your cabinets stay in good shape for years to come.
Once you’re done painting, be sure to reinstall any hardware that you might have taken off using only a hand screwdriver. Using electrical tools can cross thread or ding your finish.
Depending on the size of your project, this may take you a few days to a week to complete. If you want the job done quickly and professionally, give Coastal Painting a call. We can usually handle these jobs in a day or less.
Be sure to comment with a picture of your new paint job below! We’d love to see your color ideas, and you might even be featured in a future blog.
